Showing posts with label Nails. Show all posts

Friday, October 18, 2013

Simple zombie nails tutorial

Hello lovelies! As I stated on my personal instagram (not sure if anyone that reads this blog follows me) I am posting a tutorial for the Halloween nails I did for this week. I know I showed a picture of this design last year, but I didn't fully go in depth on how to do it. This is a super easy design, so if you don't like doing complicated designs that take hours, this is the one for you. I tend to do this every year because it's pretty quick and I love zombies.

So here is what you will need:

-Bright green nail polish
-Some sort of black nail polish nail art medium (I'll get more into this in a moment)
- Top coat
- Optional glow in the dark top coat

To begin with, these are the products that I used:

They are Essie Mojito Madness and a Miji black nail art pen. If you do not have any sort of nail art pen, you can do this design with any black nail polish and a fine pointed nail art brush or even a toothpick.

The first thing you need to do is paint your nails with the bright green nail polish, then let them completely dry.


This next step is optional: add a glow in the dark top coat. I did this step using China Glaze Ghoulish Glow.

It is a great glow in the dark top coat. It isn't completely sheer so if you don't want it to affect the color of your polish, apply a very thin coat. I accidentally applied a coat thicker than I wanted to, but it actually enhanced the green making it look more zombie-ish. The color when glowing is green and it glows brightly.

As I was doing this tutorial I completely forgot to take pictures of the design as it went along (oh, no! D: ). So I made some little diagrams to show you step by step how to do it. The diagrams are probably easier to see than if I showed pictures of it on my nails.

First take your black nail polish and whatever method you may be using, and draw a line like so:

Next, draw small lines across the diagonal line to make it look like stitches.

You could leave your nails just like that, I left a few like that but I went on and added some half circles in the corners of some of the nails like this:

Then add the lines to the circles, as you did the diagonal line.


Now just add a topcoat (Seche Vite is my favorite) once all of the lines are completely dry and you are finished!


Friday, October 11, 2013

Blood splatter nail tutorial

Hello lovelies! I apologize for not posting anything at all last week. Truthfully I needed to take a break for a week from posting. But, even though I didn't post anything, I worked on this little nail tutorial.

Halloween is my favorite time of the year, even though every day is Halloween for me, I take it to the extreme in October. One of my favorite things to do besides some theatrical makeup is Halloween nail designs. I usually do a blood drip sort of design, but this year I tried something a little different.

I wanted to do some Halloween themed posts and I thought this nail tutorial would be perfect.

For this tutorial you will need:
-A paper plate
-A straw (I recommend using a smaller rather than a larger one)
-White nail polish
-Red nail polish
-Some sort of tape
-Normal topcoat
 -Optional glow in the dark topcoat
-Nail polish remover and Qtips


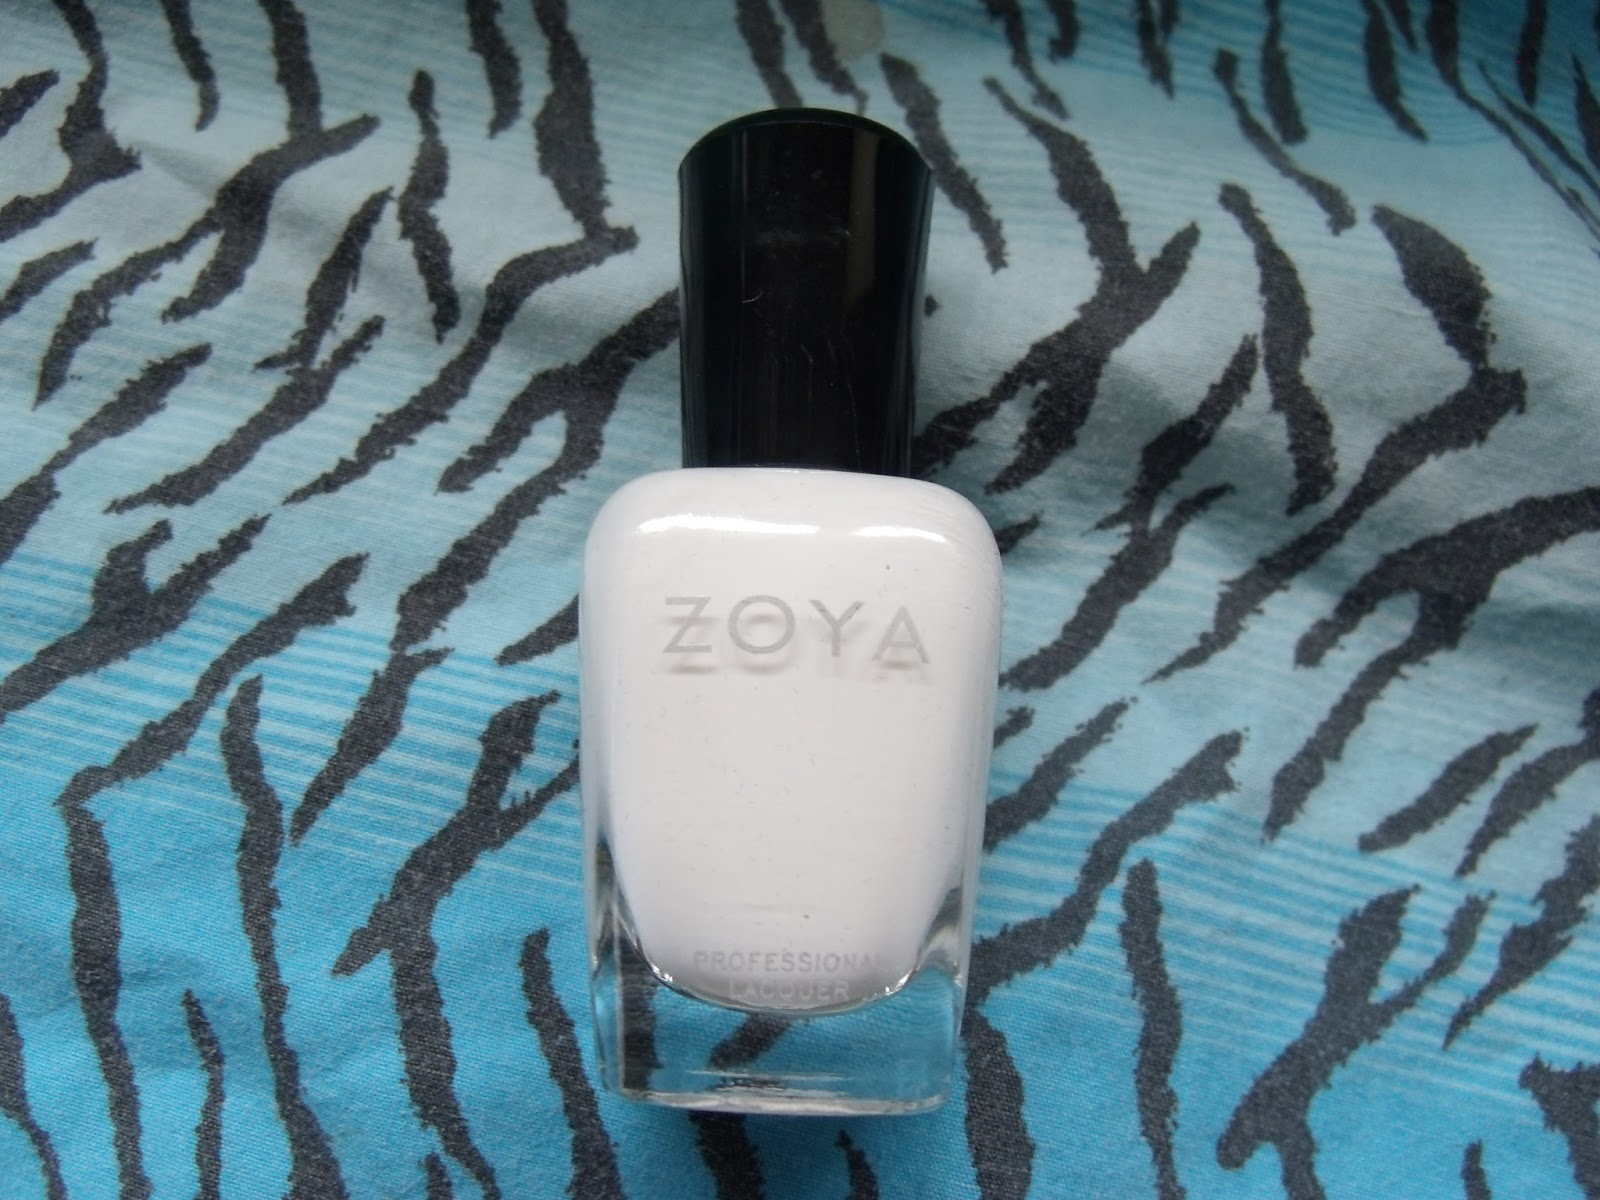
I used Zoya Purity which is the best white nail polish that I have ever used. For the red, you can use any generic red color that would look good for a blood splatter. I used the red from my Migi nail art pens because it is the only red that I have right for this design. 

First what you want to do is paint your nails with the white nail polish. Get them fully opaque and completely dry. This step is optional: if you have a glow in the dark top coat (like China Glaze Ghoulish Glow or Sinful Colors Glow in the Dark) you can put a coat over the white. Next, you will want to cover some areas of your fingers around the nails with some tape. You can use any sort of tape, I used painters tape because it was what I had at the time. Make sure not to cover the nails themselves.


 Take the red nail polish and pour some onto the paper plate like this:

 I would pour more initially than I did. Take the straw, dip it in the paint. Put the straw over your nails, nail polish towards your nails and blow through the other end of the straw. It took me a while to get the hang of this and to get it to work. Once you get the hang of it, you will get a paint splatter effect.

After you are done and the nail polish has dried, take off the tape and clean up any areas where nail polish shouldn't be with some nail polish remover. And of course, apply a topcoat.

And here is the finished product:


Friday, May 17, 2013

Nails by Vicky: Haul Post


A couple of days ago I went shopping with my best friend Heather, the owner of this blog. I wanted to make a post about the nail related products that I bought. As with any post that I make if you would like to see me use these products in a design, would like a review, or if you have a nail related question I would be happy to answer it!

Now onto the products I bought.


This is a Blackheart nail polish from Hot Topic. I have a couple other nail polishes from Hot Topic and they are actually very nice. I love the packaging too. It works with the Hot Topic brand. Unfortunately, this particular nail polish does not have a name on it and I bought it on clearance so Hot Topic does not carry it anymore. It is a pinkish glitter nail polish. Normally Blackheart nail polish costs $5.


Next is a Duo Nail Polish in White Lie. This was also a clearance product from Hot Topic and is also not carried anymore. It is a combination glittery orange polish and a white nail polish. I really like these duos because it gives you two different shades in one. This normally sells for $6.99.


I am really excited to try this next product out because I have heard very good things about the Essie line. I got the color Good as Gold which is a shimmery gold color. I had been looking for a gold color for my nail polish collection and this polish was the perfect color to add to the collection. I bought this polish at a Beauty Supply store near me but Essie polish normally sells for $8.


Another nail polish brand that I have been wanting to try is Zoya. I am so excited to be able to try out the Zoya Pixie Dust polish in Chyna. It is a nice ruby red color. I also bought this polish at a Beauty Supply store but Zoya polish normally sells for $9.


The last product I bought was from Sephora and is called a nail protector. This product helps keep you from accidentally painting your skin along with your nails. If you follow my posts you will know that I am not the cleanest painter in the world, so I am hoping that this product will help me.

That is everything! Please let me know if there is anything that you would like me to review or make a post about. 

Friday, May 10, 2013

Weekly Beauty Tip #43: Nail polish application tip

When applying nail polish, apply in several thin layers rather than just 2 thick layers. Also paint the tip of your nail. This will help your manicure be more durable.

Thursday, March 21, 2013

Weekly Beauty Tip #36: Important nail tip

This is a very simple yet important tip for when doing your nails. Always use a base coat and a top coat. The base coat acts like a primer to your nails and the top coat acts like a setting spray to your nails. Both are important to achieve a beautiful and long lasting manicure.

Tuesday, March 12, 2013

Nails by Vicky: Saint Patrick's Day Tutorial


Can you believe that St. Patty’s Day is just around the corner! For this tutorial I will be showing how to do a simple rainbow and Leprechaun buckle.
What you will need:
  • Base coat and top coat (as always)
  • Nail polish in: red, orange, yellow, green, and either blue or purple (Try to use nice bright nail polishes.)
  • Gold and black nail art paint
  • Thin brush


1. First, use acetone to take off the beautiful nail polish that you applied the last time you did your nails. Then apply one coat of whatever base coat you use.

2. Each nail will have a different color of the rainbow so make sure you do not accidentally paint all of your nails the same color. (I have done this before and it can be a bit annoying to take it off.) To make it easier to remember which color goes on which nail here is a little cheat sheet:
       a. Thumb - red


(Avon Speed Dry Reddy to Go $6)

      b. Pointer - orange


(Obsessive Compulsive Cosmetics in Beta from Sephora $10)

      c. Middle - Yellow


(Avon Nailwear Pro in Sunshine $6)

     d. Ring - Green


(ELF Teal Blue $2)

    e. Pinky - Blue or purple (I had to use purple because I do not have blue nail polish. This will change soon.)


(ELF Purple Dream $2)

     (Each of the nail polishes shown are the polishes I used for this tutorial.)
      
     You may have to apply from one coat up to three coats of polish depending on the color you use.

     Once you have finished applying all the different colors allow them to dry COMPLETELY. This is most important for the green nails because this is where the nail art is to be applied. Below is what mine looked like:


3. Now onto the nail art! For this part you will need the gold and black nail art polish and the small brush.

       a. Depending on your nail size, using the black paint a good size line across the width of your nail and allow to dry.
        
       I am using a Sally Hansen Nail Art Pen in black to accomplish this. These can be found in drugstores for $8.00.


        b. Next, using the gold, paint a box that goes through the line and onto the green. This is hard to explain so please refer to the picture below or follow this link to a picture tutorial of how to make one: http://pinterest.com/pin/304415256032658159/


          I am using a Nail Candy duo, specifically the gold side. This can be found on amazon.com for $8.00.


        c. For this part you may find it easier to use a small brush to do the design instead of the brush given. The one I used to paint the gold on was from Sephora and it came in a set with a dotting tool for $10. However you can find a set of three different size brushes for $1.60 on amazon.com. 


4. Finally, apply the top coat. Once finished the outcome should look something like this:


Friday, March 8, 2013

Zoya Nail Polish Review


It amazes me how many people don't know about Zoya! Zoya is a nail polish brand free of five harmful chemicals ( toluene, formaldehyde, formaldehyde Resin, DBP, and camphor) that can be found in nail polish. Zoya nail polish is also long wearing and has so many different colors.

I had been eyeing Zoya's nail polishes for months on their website (www.zoya.com). One day on their twitter ( www.twitter.com/zoyanailpolish ) they had a contest to caption a picture. I was one of the winners of that contest! I was so excited when I won, not only did I win a really cool nail polish but it was Zoya, the brand I had been lusting over trying for months.

The day I got my package from Zoya I was in awe. I thought I was just getting one bottle of nail polish but to my surprise I got the Gilty Pleasures gift set. This set included the shades Raven, Purity and the Gilty top coat.


  I could do a review alone on the Gilty top coat. The gold of this topcoat is real 18K gold! It is so beautiful! Best of all it can be used with so many different shades of nail polish. I like it best over Zoya Raven. 


 Zoya Raven is a perfect black nail polish, I wear black nail polish a lot so this will definitely get a lot of use!


 Zoya Purity is the perfect white nail polish. It is so much better than the China Glaze White on White polish I had been using.


I also have Zoya Holly, a really pretty emerald green. This nail polish is perfect for this year, since Pantone's color of the year is emerald.


Zoya Holly with Zoya Gilty topcoat. I didn't realize until Vicky (she writes the Nails by Vicky posts on this blog) pointed it out that this would make a great St. Patrick's Day nail look.


The quality of these nail polishes is very consistently high. They are all very pigmented and they do last as long as they claim to. I was very impressed by Purity, I had never had a white nail polish that stayed so long.

The only con I have about Zoya nail polish is accessibility. It hasn't been as easy to get my hands on as OPI, Essie or China Glaze would be. The easiest place to find Zoya is through Zoya's website. You can find some colors on amazon and possibly eBay. Some beauty supply stores carry it as well. I am lucky enough to have a beauty supply store near me that has a regular supply of Zoya.

If you are a nail polish addict (like myself and Vicky) then you absolutely must have some Zoya! If you want to try Zoya, do it, these are great nail polishes!


Tuesday, March 5, 2013

Nails by Vicky: Sally Hansen Salon Effects Demo


This demo is for all of those people who have wanted to try Sally Hansen Salon Effects (drugstores), but are not sure how to go about doing them to get the best possible outcome. I will be following the instructions given in the product:


To keep what I tell you and what the instructions tell you separate the instructions will be highlighted like this: instructions. I hope the tips and tricks I give you in this demo help when you decide to try these out!


In the box you receive everything you need to apply the strips: the polish strips themselves, a wooden stick, a small file, and the instructions. Also included in the photo above is a bottle of top coat.

TIP: I was given a tip by another nail art enthusiast who had recently tried the same product and she found that they stayed on longer when you applied a top coat. I can also report that this did in fact work! I would say that they stayed on for a lot longer than the 10 day maximum that they are said to have lasted.

The design I bought was called Peppermint Twist. It is a very versatile pattern! I actually used this pattern for a dance that was very close to Valentine’s Day.

The instructions given start out with the preparation this includes:

            Start with clean, dry nails.
            Push back cuticles with wooden stick.
            Shape free edge of nail with hot pink side of file.
            Gently smooth surface of nails with white side of file.
            Given nails one last swipe of nail color remover to remove any excess dirt & oil. (This step is extremely important as it helps your manicure last longer.) Ensure there is no creamy or oily residue left behind.
            Use warm hands for maximum flexibility and stretch.

There is not much to talk about with these steps however I would like to stress the importance of the fifth step. DON’T FORGET TO DO ONE LAST SWIPE OF NAIL POLISH REMOVER BEFORE APPLYING THE STRIPS! A friend of mine forgot to do this and had a hard time keeping the strips on her nails. It may seem like a very simple and non-important step but it can mean the difference between a perfect nail day and a not so perfect nail day.

After the all-important preparation comes the actual steps for applying the strips.

1. Select best-fitting strip for each nail.

TIP: Select the strip that is just a little bit bigger than your actual nail. This helps the strip apply better to the nail. Also even if when applying you find out that the strip is just a little too big you have the ability to cut off the excess that you do not want with the wooden stick.


2. Remove clear protective plastic cover, then peel nail polish strip from backing paper.

3.Choose the side of the strip that best fits the shape of your cuticles. Break silver tab from strip.

TIP: I have a tip from Heather, the Lipstick Zombie herself! To get more than one use out of the nail strips, you can cut the strips in half. This helps give you both maximum control when placing the strips on your nails and gives you more strips to use the same style twice!

4. Place strip against cuticle line. Hold strip at the center for maximum control.


             Press strip to nail. Gently stretch strip for a perfect fit. Firmly smooth over entire nail.

             Run flat side of cuticle stick along edge of strip to firmly bond strip to nail.


                I found all of these instructions fairly easy to understand and follow. However, the tip they give about stretching the strip confused me and I found no need to do this since the strip was always much longer than my nail. Also the second tip, about running the cuticle stick (wooden stick) along the edge, I found to be extremely important. It definitely helps the strip bond to the nail and if the strip is a little larger than your nail you have the ability at this point to very carefully cut off the excess using the wooden stick. 

      5. Smooth excess over nail edge, forming a crease around the edge of the nail. Gently file away excess from nail edge using light pink side of file.


                TIP: When filing away the excess I found it easier to bend the ending part around my finger so that it surrounded the end of my finger. This allowed me to easily file directly against my nail and it made a clean break.


Repeat steps 2-5 for each nail, applying to thumbs last

To remove strips use nail color remover.

      After applying the top coat (I used Out the Door which can be bought in beauty supply stores or amazon), this is what my nails looked like when finished: