Wednesday, October 30, 2013

Review: SweetPea and Fay Etui Lip Joule

I have been wanting to try SweetPea and Fay's liquid lipsticks for some time. While browsing online for an out of the box lipstick color for Halloween time I found this Lip Joule in Lottery Bride (a bright blue/teal color)


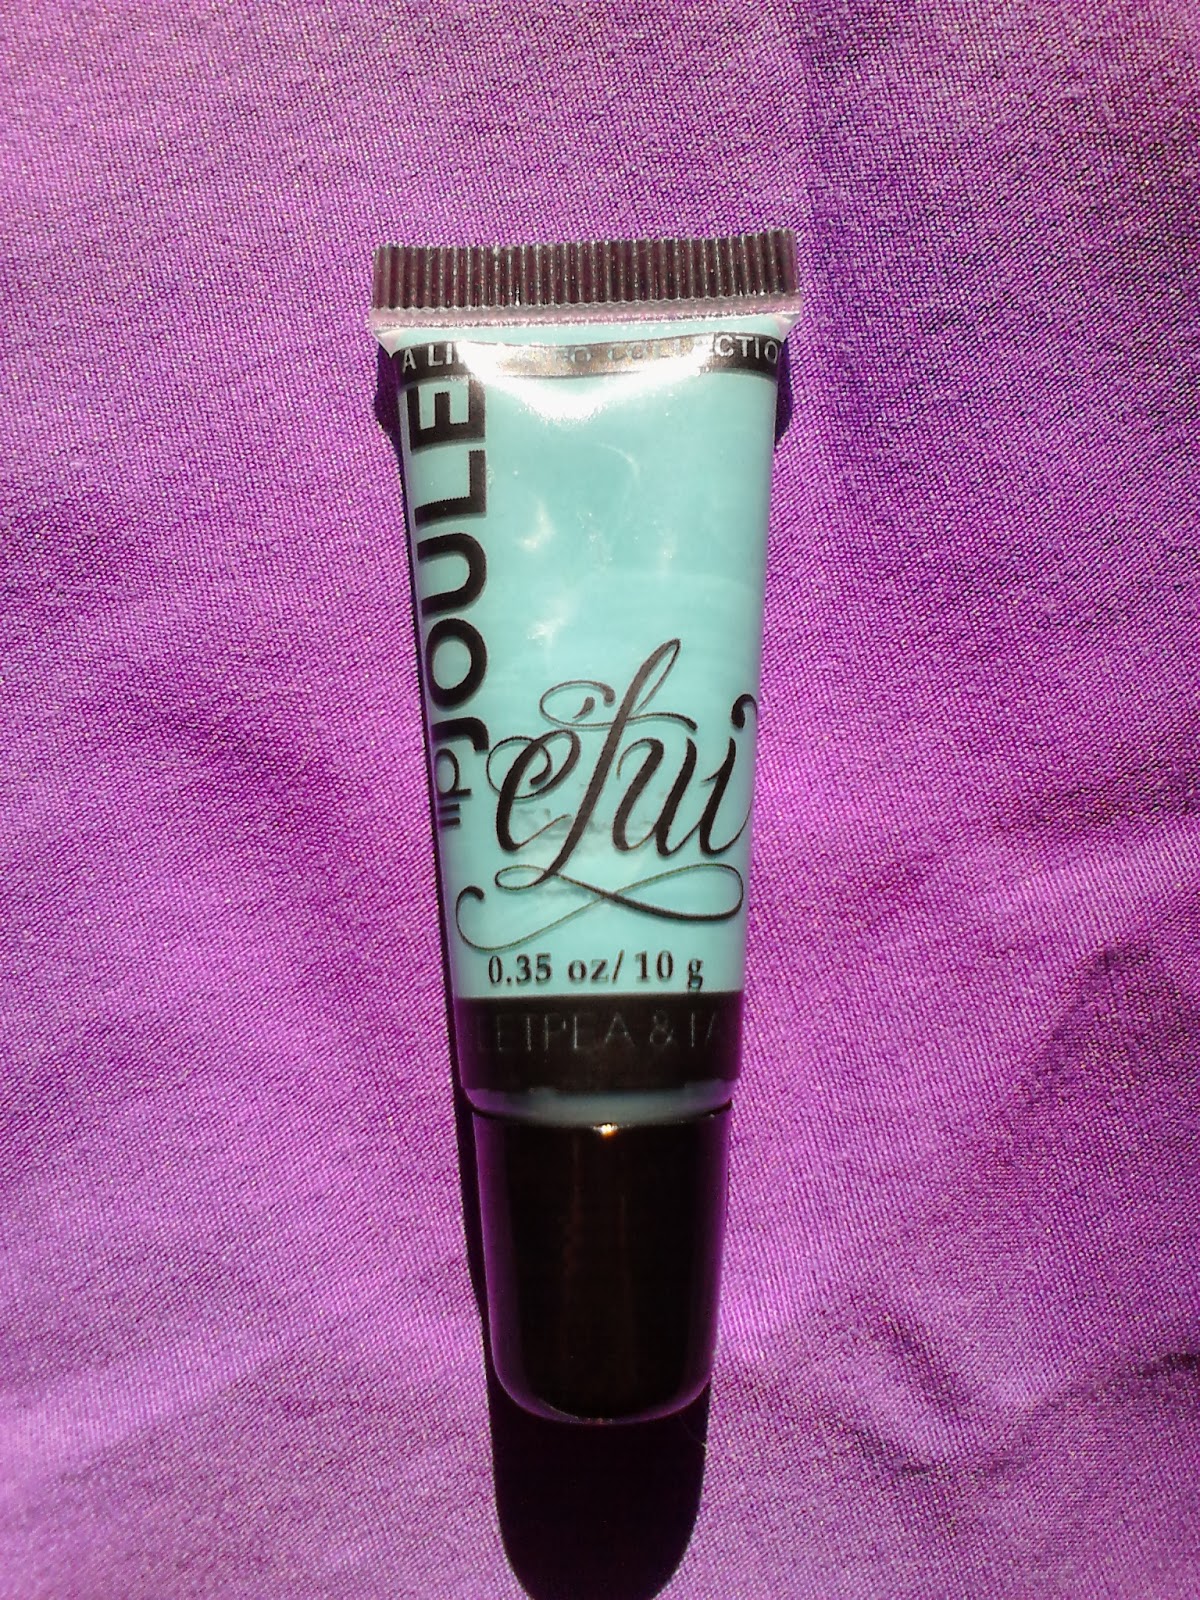
This particular product is part of a limited edition product collection released this summer called Etui for makeup artist Lina Toro. Although limited edition, you can find it on amazon.com, which is where I purchased my Lip Joule.
 
I assume that the Lip Joules are just like or at least similar to the brand's normal liquid lipsticks (which they call J'adore Les Levres). If so, I would definitely buy more.


It comes in a tube with a slanted applicator, the packaging is much like OCC's old packaging for their lip tars. The tube comes in a small sealed bag and little brush, like how OCC lip tars are sold at Sephora. The bag is a thinner plastic, but it is larger than what the lip tars are sold in which I like. It makes it easier to get the contents out. The lip brush isn't so great. It is very flimsy, the head of the brush will come off of the plastic handle. The brush head could be larger and the bristles separate. It is nice to have a little brush with it, even if that brush isn't good quality. The brush quality isn't a huge deal to me, I have other brushes I can apply this product with.

 The product its self is thicker and creamier than OCC lip tars. It isn't runny. The thicker consistency makes it slightly easier to work with. It also isn't as drying as some lip tars may be. A little bit goes a long way, so I wouldn't recommend applying directly from the applicator. It is very pigmented. Feels very lightweight. Once dried, it will last all day unless eating. When I drank there was little to no transfer, but while eating and using a napkin the product indeed did come off.


There is a good amount of product, the tube is completely filled. The ingredients are clearly listed on the back of the tube. The color name and the fact that this product wasn't tested on animals is also printed.

One thing I also feel the need to inform anyone reading this is not to buy this product directly from SweetPea and Fay's website.  I have heard so many things about people having trouble with their orders through them. Amazon does have many of their products at very reasonable prices, I highly suggest buying through there. I also know of a great seller to buy these products from on amazon. If you would like the seller name, just leave a comment or email me.

Overall, I love this product. It is great quality and reasonably priced. I would definitely buy more.

To see more of SweetPea and Fay's products (including more liquid lipstick colors), go to  http://www.sweetpeaandfay.com/ .

Friday, October 25, 2013

Weekly Beauty Tip #66: Tip for more intense eyeshadow

For a more intense eyeshadow color, apply your eyeshadow wet. Get your eyeshadow brush damp, dip into your shadow and apply.

Friday, October 18, 2013

Simple zombie nails tutorial

Hello lovelies! As I stated on my personal instagram (not sure if anyone that reads this blog follows me) I am posting a tutorial for the Halloween nails I did for this week. I know I showed a picture of this design last year, but I didn't fully go in depth on how to do it. This is a super easy design, so if you don't like doing complicated designs that take hours, this is the one for you. I tend to do this every year because it's pretty quick and I love zombies.

So here is what you will need:

-Bright green nail polish
-Some sort of black nail polish nail art medium (I'll get more into this in a moment)
- Top coat
- Optional glow in the dark top coat

To begin with, these are the products that I used:

They are Essie Mojito Madness and a Miji black nail art pen. If you do not have any sort of nail art pen, you can do this design with any black nail polish and a fine pointed nail art brush or even a toothpick.

The first thing you need to do is paint your nails with the bright green nail polish, then let them completely dry.


This next step is optional: add a glow in the dark top coat. I did this step using China Glaze Ghoulish Glow.

It is a great glow in the dark top coat. It isn't completely sheer so if you don't want it to affect the color of your polish, apply a very thin coat. I accidentally applied a coat thicker than I wanted to, but it actually enhanced the green making it look more zombie-ish. The color when glowing is green and it glows brightly.

As I was doing this tutorial I completely forgot to take pictures of the design as it went along (oh, no! D: ). So I made some little diagrams to show you step by step how to do it. The diagrams are probably easier to see than if I showed pictures of it on my nails.

First take your black nail polish and whatever method you may be using, and draw a line like so:

Next, draw small lines across the diagonal line to make it look like stitches.

You could leave your nails just like that, I left a few like that but I went on and added some half circles in the corners of some of the nails like this:

Then add the lines to the circles, as you did the diagonal line.


Now just add a topcoat (Seche Vite is my favorite) once all of the lines are completely dry and you are finished!


Thursday, October 17, 2013

Weekly Beauty Tip #65: Little trick for fuller lashes

For fuller lashes, try lightly dusting baby powder onto your eyelashes. You can even do this between coats of mascara, before you apply your mascara or without mascara at all for a more natural look. 

Friday, October 11, 2013

Blood splatter nail tutorial

Hello lovelies! I apologize for not posting anything at all last week. Truthfully I needed to take a break for a week from posting. But, even though I didn't post anything, I worked on this little nail tutorial.

Halloween is my favorite time of the year, even though every day is Halloween for me, I take it to the extreme in October. One of my favorite things to do besides some theatrical makeup is Halloween nail designs. I usually do a blood drip sort of design, but this year I tried something a little different.

I wanted to do some Halloween themed posts and I thought this nail tutorial would be perfect.

For this tutorial you will need:
-A paper plate
-A straw (I recommend using a smaller rather than a larger one)
-White nail polish
-Red nail polish
-Some sort of tape
-Normal topcoat
 -Optional glow in the dark topcoat
-Nail polish remover and Qtips


I used Zoya Purity which is the best white nail polish that I have ever used. For the red, you can use any generic red color that would look good for a blood splatter. I used the red from my Migi nail art pens because it is the only red that I have right for this design. 

First what you want to do is paint your nails with the white nail polish. Get them fully opaque and completely dry. This step is optional: if you have a glow in the dark top coat (like China Glaze Ghoulish Glow or Sinful Colors Glow in the Dark) you can put a coat over the white. Next, you will want to cover some areas of your fingers around the nails with some tape. You can use any sort of tape, I used painters tape because it was what I had at the time. Make sure not to cover the nails themselves.


 Take the red nail polish and pour some onto the paper plate like this:

 I would pour more initially than I did. Take the straw, dip it in the paint. Put the straw over your nails, nail polish towards your nails and blow through the other end of the straw. It took me a while to get the hang of this and to get it to work. Once you get the hang of it, you will get a paint splatter effect.

After you are done and the nail polish has dried, take off the tape and clean up any areas where nail polish shouldn't be with some nail polish remover. And of course, apply a topcoat.

And here is the finished product:


Weekly Beauty Tip #64: Tip for healing chapped lips

When you have chapped lips, try exfoliating with a lip scrub then applying a moisturizing lip balm on top. Next apply a layer of Vaseline. The Vaseline step is even more important when going to bed.

Exfoliating will help eliminate the chapped skin, moisturizing balm will help to moisturize and heal, and the Vaseline will seal in the moisture which ultimately will help it heal faster. This is what I do whenever my lips get chapped.